As I mentioned in The Kitchen Series post Stocking your fridge and freezer a veggie stock bucket is a wonderful thing to have. The size of your bucket depends on a few things:
- the amount of veggies you normaly use in a week
- how much stock you use/want
- how often you want to make stock
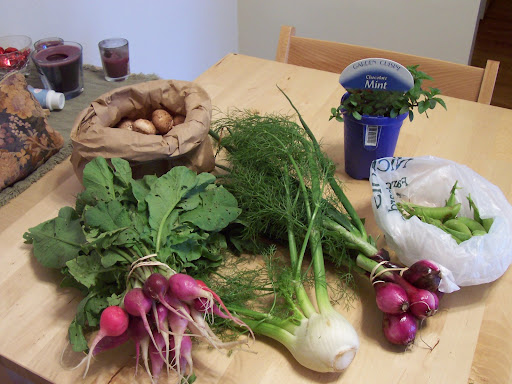
My veggie stock bucket (as you can see below) is a small square container I bring out of the fridge when I am cooking with raw veggies. Your veggie stock container can be anything, a ziploc bag or a actual container, as long as it seals well. I wash my veggies very well and then all peels and good looking ends go in the bucket. Almost anything can go into it, except for things from the cabbage family (broccoli, cauliflower), radishes, soft squash (summer squash or zucchini) and cucumbers. Don't use any peels that had wax on them like rutabaga, or turnip. I put onion ends in, minus the very out side papery skin and fringey bottom root (just cut it off right above it), along with potato and carrot peels, celery leaves and mushroom ends.

It is possible to freeze your veggie scraps if you don't use as much stock or you don't have enough veggie scraps to make stock. Since I go through a lot of stock and veggies I tend to make it every week. If you choose to freeze the scraps you can make stock right from the freezer, or defrost the scraps overnight in the fridge. I find it works best to do it straight from the freezer, it saves you a step and it is just easier.
To make the stock (full recipe at end of post), put all the scraps in a large stock pot. Double check that you don't have too much of one thing and adjust the veggies quantities as needed from your crisper drawer. You should have approximately a third of each carrots, celery and onions, plus any other veggie scraps. I try and check my veggie drawer at this point and add in any veggies that are on the edge of good by cutting out any bad spots, washing well and chunking up to throw into the pot.

At this point you have a few choices, to spice or not to spice. Salt is the big question...if you like less salt omit it all together since most dishes you make with your stock are going to be seasoned. I like to add 4-6 whole peppercorns, 2-4 bayleaves, 1 tbsp herbs de provence, 1 tsp salt and a clove of garlic cut in half. The 2 things on that list I would always recommend are the peppercorns and the bayleaves, they give just a touch of flavor but not too much.

Once you have seasoned your pot add water till you have covered the veggies completely. Give it a good mix, then put it on medium-low heat. Once it boils skim any scum that rises and turn it down to a simmer. After this
do not mix it again. You can poke any peeking veggies down with the back of a spoon, but don't mix or it will give you really cloudy stock. Simmer uncovered 1 to 1.5 hours till it is a rich brown color. If need be add more water to keep the level about the same as when you started or if you want a concentrated stock allow it to condense as it cooks. Once the stock is done allow to cool a bit before straining out the veggies scraps using a large colander and a bowl.

If you used more spices and still have floating herb flakes, strain thru a mesh strainer to remove.Now you have a basic veggie stock that you can use in any recipe. I freeze mine in ice cube trays that hold aprox 1 tbsp per cube. This makes it easy for me to use just a little or a lot as needed in my recipes. Another good way is to freeze 1 or 2 cup portions laying flat in ziploc bags.
 Veggie Scrap Stock
veggie scraps
4-6 whole peppercorns
2-4 bayleaves
1 tbsp herbs de provence (optional)
1 tsp salt (optional)
1 clove of garlic cut in half (optional)
Water, to cover
Put everything in a large pot.
Add water till you have covered the veggies completely.
Give it a good mix, then put it on medium-low heat. Once it boils skim any scum that rises and turn it down to a simmer. After this do not mix it again. You can poke any peeking veggies down with the back of a spoon, but don't mix or it will give you really cloudy stock.
Simmer uncovered 1 to 1.5 hours till it is a rich brown color. If need be add more water to keep the level about the same as when you started or if you want a concentrated stock allow it to condense as it cooks.
Once the stock is done, allow to cool a bit before straining out the veggies scraps using a large colander and a bowl. If you still have floating herb flakes, strain through a mesh strainer to remove.
Package as you like for fridge or freezer.
Previous Kitchen Series Posts
- The Kitchen Series: Tools I love....
- The Kitchen Series: Stocking your drygoods pantry.
- The Kitchen Series: Stocking your fridge and freezer.
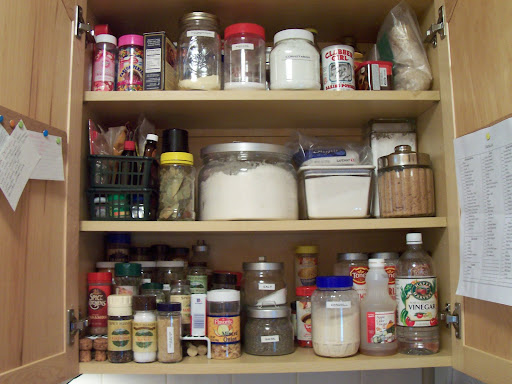
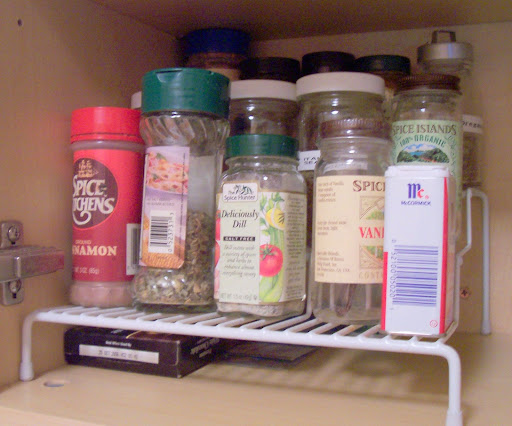
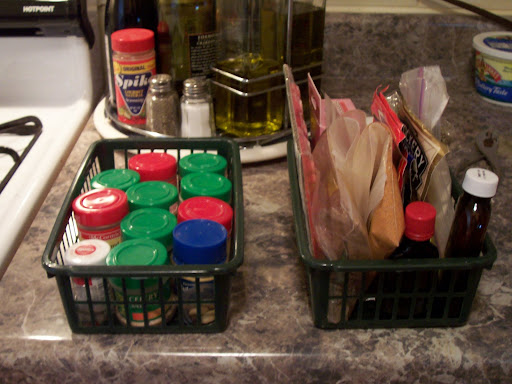
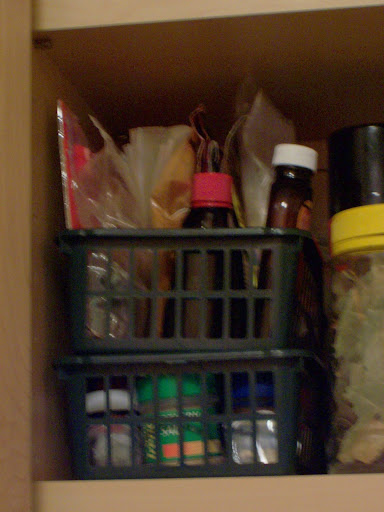
- The Kitchen Series: Stocking your spice pantry.
- The Kitchen Series: Making your own mixes
Posted in:
In The Kitchen,
The Kitchen Series
on
Friday, May 30, 2008
at
11:15 AM